12.11.2014

Sloan's Second Birthday!

Do any of you remember last year when I posted about helping my friend Amanda do the invites and a few other things for Sloan's first birthday party?
Last weekend I had the pleasure of working on the invites and Thank you cards for his second birthday! First we had to come up with some sort of a theme for the party. She was is having at one of those paint your own pottery kind of places, so I thought it could be as simple as just using paint! I played around with it for a little while and, once we found a brush that we loved for the corner, everything kind of just fell into place.
I LOVE how they came out! Next we had to do the thank you cards for after the party. Of course they had to be coordinated! Have to remember how much fun we had with the paint even after the party right?
These were simple with the front decorated, and the back being white so that she could write whatever she wanted. Then each item came with their own envelopes, so all she had to do was pack them and send them out!
She got them in the mail the other day and sent them out already. She said that she loved the quality of the classic felt, and that she was so happy with them! I love nothing more than hearing that!!!

Now I can't help but wonder what we will do for Sloan's third birthday or Thatcher's first!!! lol

12.03.2014

Custom Holiday Cards!

I am having so much fun making printed goods this year! Ever since I rebranded, I expanded my services. Not only do I do the business cards for branding, but I also do printed personal goods!

I offer many things like holiday cards, wedding invites, save the dates, party invites for your little ones, return address labels, and birth announcements! These printed goods have been so much fun to make, and I LOVE seeing what they look like once you get them! These products come in different shapes and sizes, and are typically delivered to your door in under a week! You can look at options here.

This past week I had the pleasure of making four custom holiday card orders that were exactly what each client wanted, and I love how they came out! make sure you hover over each image to see the back side of the cards!

So what do you think? If you are interested in ordering some, you are not too late! Just keep in mind that you want a large, high quality, photo to use in the cards. You will also want to have some sort of idea of what you would like, as each order is custom designed for you!

12.02.2014

Save Your Progress!

How many of you have started filling out one of my questionnaires, only to have something happen and it's gone? We are all busy with the holidays, and sometimes it takes a good amount of time to put all of the details of what you want into those little forms. 

But now you don't have to fill it out in one sitting! You can start your form and save it as you go. As long as you make sure to save it, and return to it within a week, you are good! I know it is such a small feature, but it excites me! 

Did you know that there are now questionnaires for every aspect of my site? There are three for blogging, one for branding, and then one for any of your personal printed items that you may need!

I love how these forms help us start out in an organized fashion! 

Follow my blog with Bloglovin

11.18.2014

Brand Spankin' New

So, take a peek around... Notice anything new???
Tiffany Kuehl Designs has been completely rebranded! I have worked my butt of the last few days to get it done, but I have known for a while that I needed to do something. I just never knew exactly what I wanted to do. 

Yes, you read that right. The designer had no idea of what she wanted to do. So I did what any sane woman would do and I started a secret pin board with every single idea or detail that I thought I might want to use. 

When your starting to brainstorm for a new design, color is always a great place to start. I have a Pinterest board specifically for helping find color pallets. Then if you want to incorporate a pattern you will start looking for pattern styles that you love. You need a seamless pattern or a web tile for anything your going to use on a website. A great place to look for this is Etsy or colurlovers.com. I actually purchased a template for my ikat argyle pattern on Etsy and colored it to my pallet. Next I found sites I liked that were similar to the look that I wanted, and listed the details I liked about this. All of these things went into my board before I ever even though about beginning. 

Then I started thinking about my new logo. The funny thing is that I designed a logo over a month ago that I really liked. At least I liked it until I started trying to work with it.

Once I started trying to work with it a little I decided that I HATED IT! Lol. I had been a little unsure for a week or so, but then when I started working with it and just wanted to give up. But I couldn't give up, I desperately needed a rebrand! So I decided to walk away and come back to it the next day. That night I was sitting down watching tv and I started thinking about it again. Only this time I was just focusing on a logo because I had an idea of something that I thought would look cool if I could find the right fonts. 

Friday came and after a couple of hours, and several messages back and forth with a friend, my new logo was born!

Then when I added it to business cards I fell in love! I have never had business cards before, and I can not tell you how excited I am to be getting mine in the mail! 

Once I had my cards designed, the rest of the site kind of fell into place. It has taken so much work, and a lot of time this weekend to get everything done, but I am in love with the final product. I  got the chance to learn so many new things to do this design, and I love that!

So, what do you think? 

9.21.2014

Business Cards | New Service

I have been offering business cards for a long time now, so thats not so new. But there is something very new about the way that I am doing them now!!!

I am so very excited to announce that I now offer PRINTED business cards!!! You read that right! I no longer just offer digital files! Now that I have teamed up with MPixPro, I am have your business cards delivered to your doorstep within 1 WEEK of when I have them designed.

So I know what your next question is... How does this work and what does it cost?

Honestly, the cost isn't that much different. For a double sided business card I charge $40 for the design. But I have those files saved for future printing as well. Then I submit the designs to MPixPro and they print them within 24 to 48 hours. So far on the cards that I have sent they have been printed and shipped within 24 hours. Then they us FedEx next day shipping. So they get there super fast. They charge $20 for 100 cards and $5 for the shipping. You can get higher quantities for lower amounts with the printing as well.

So if you add all of that up you are at $65 for 100 double sided custom business cards printed, and sitting on your doorstep, within a week of ordering them. I can not tell you how awesome this is to me. Then after you use your cards, if you want to reorder you just let me know and I will simply order them and have them shipped to your address for the cost of printing and shipping.

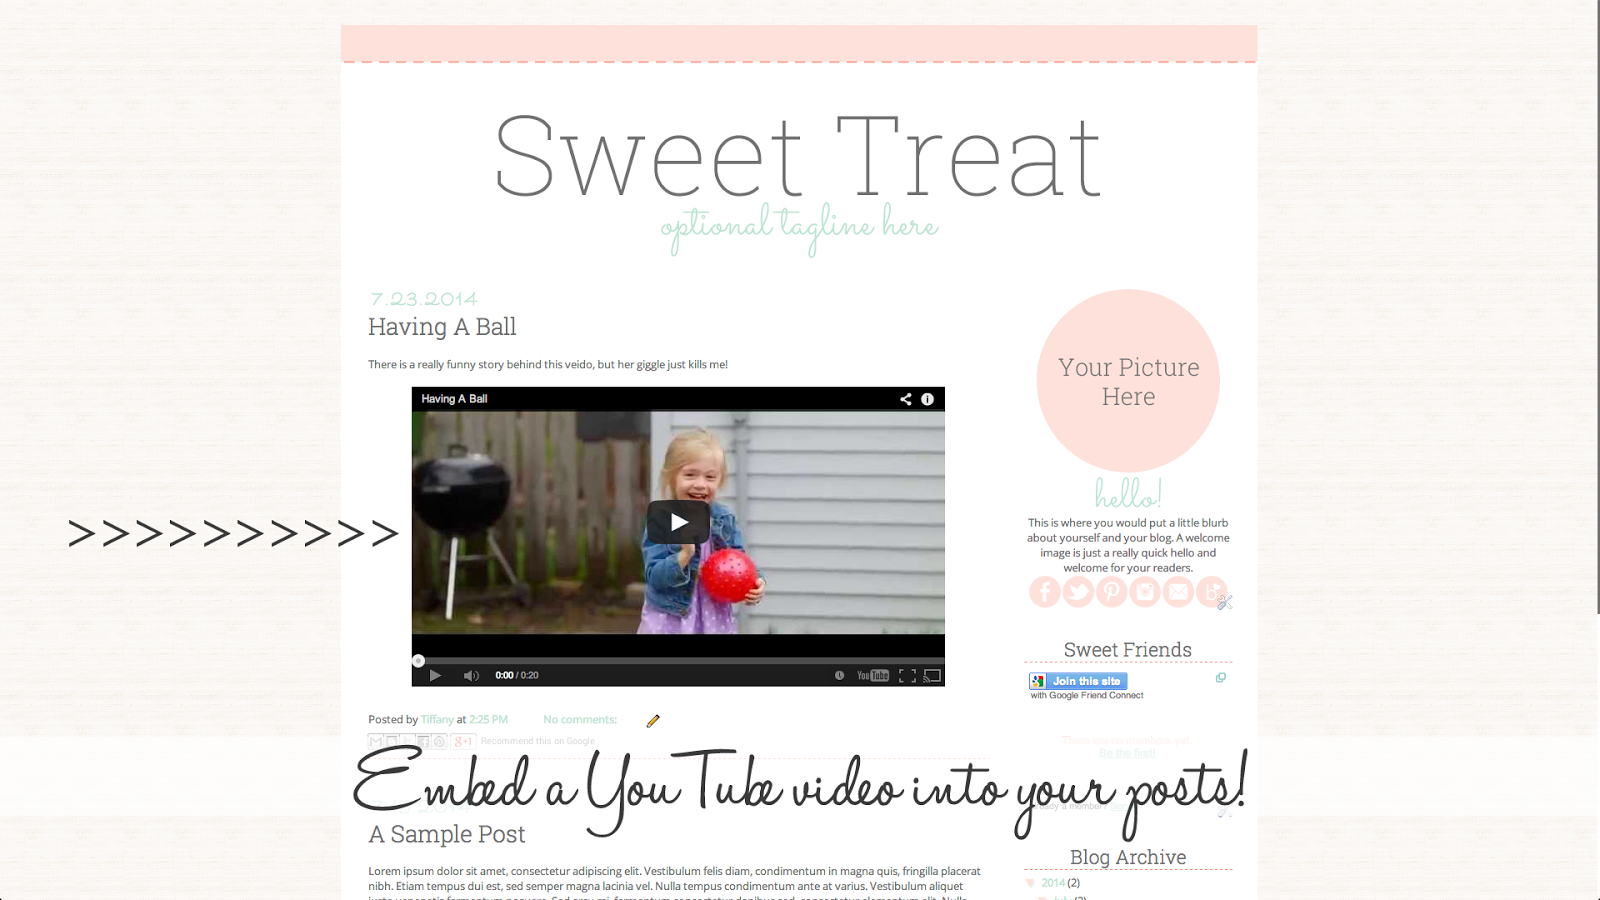
Now since a post isn't any good without pictures... Would you like to see some examples of the designs that I have ordered in the last couple of weeks???

Business Card FrontBusiness Card Back

Elaine's cards were made to match her website. I think they are super cute!

Business Card FrontBusiness Card Back

Jennifer's Cards were made to match her personal facebook banner,
Personal Facebook Banner

and her business facebook banner.
Business Facebook Banner

I loved working with her on all of these. They were so fun to do!

My most recent order was for Cyndy.
Business Card FrontBusiness Card Back

I can not even begin to tell you just how fun all of these have been to make! I love knowing that I am actually making physical items for people rather than just a digital copy. I can not wait to make more!!! 

If you want any business cards ordered just email me and we can get started immediately!!!

9.20.2014

City Girl Southern Style | My Newest Design

I have gotten away from posting on the blog when I complete a design. I would really love to start doing them again. So why don't we just start with my most recent design added to my portfolio?!

When Miranda contacted me, she wanted something simple and modern. She didn't want a lot of color. Just some black and white with pops of gold.

City Girl Southern Style | A Custom Blog Design

I have been having a lot of requests for more simple designs with a pop lately, and I LOVE doing those! Something about this design that I love so much is the page bar. I have recently learned how to make a page bar that sticks to the top. No matter how far down you go, it's there. I have done a couple of them now, and they are amazing to me!

Another thing that I am loving about this one is the lines. There is just something about this site that is so clean and so fresh. Plus it looks amazing on my iPad! 

So what is your style? Do you like to have a more simple design? Or are you all about spicing up your site?

7.23.2014

Embed A Youtube Video Into Your Blog

I don't know about you, but I LOVE being able to share some of my videos on my personal blog. There is a way to add videos through blogger. But let's be honest, they just don't look nearly as nice as they could. So today I thought I would post a simple tutorial on how to post a video to your blog via YouTube.


It really is a rather easy thing to do once you have an idea of what your doing.

1. First and foremost you want to record your video. It doesn't matter if you do it on your phone or your camera. Just record it and upload it to your youtube account. Easy so far right? If you don't have an account it is super easy and free to set up!!!

2. Once you have your video uploaded and saved you will see three little tabe below it. Share, Embed, and Email. You are going to want to click the embed option and it should look like this!
There are a couple changes you can always make. I always click the 640 by 360 option for the size and remove the suggested videos option. Once you have made your edits, you are going to highlight the code in the box and copy it. It should look something like this:
<iframe width="640" height="360" src="//www.youtube.com/embed/TLQ6uUceWr4?rel=0" frameborder="0" allowfullscreen></iframe>

3. Now you are going to go into blogger! Open your post and click the HTML tab in the upper left corner of your posting space. Once you have done that you will paste in the code below whatever you have typed. 
I also center the code by putting <center> before it and </center> directly after it. So then it looks like this. <center><iframe width="640" height="360" src="//www.youtube.com/embed/TLQ6uUceWr4?rel=0" frameborder="0" allowfullscreen></iframe></center>

4. Now you will go back to compose mode and finish up your post. Once you are all done make sure you hit the preview option and it should look something like this!

See, I told you this was easy! There is no reason that words and pictures should be the only way you share things on your blog posts!

7.16.2014

Add Instagram Widget To Your Sidebar

As Instagram has gotten more and more popular, people have started really wanting to add an Instagram widget to their sidebar.


There is this really great website called SNAPWIDGET and they have the option to make a free widget. You wouldn't believe just how easy it is to do. 


It's really that simple.

1. Enter your username
2. If you want just a certain hashtag to show then just type that in. 
3. Choose your widget type. I like to do the slideshow widget. 
4. Choose your widget size. Its a good idea to know what your sidebar width is for this part. 200px is usually a good number though. 
5. You edit your photo border, background color, and hover effect. But I typically leave these three items alone. 
6. Preview your your widget and make sure it's to your liking.
7. Grab your code. It should look like this:
<!-- SnapWidget -->
<iframe src="http://snapwidget.com/sl/?u=dGlraV9vfGlufDIwMHwzfDN8fG5vfDV8bm9uZXxvblN0YXJ0fHllcw==&v=16714" title="Instagram Widget" allowTransparency="true" frameborder="0" scrolling="no" style="border:none; overflow:hidden; width:205px; height:205px"></iframe>
8. Go to your Blogger layout page and click add a gadget. Scroll down until you see HTML/JAVASCRIPT and click the little plus sign.
9. Now you just paste in that code. If you want it to be centered then you just <center>YOUR CODE HERE</center>.
10. Move the widget wherever you would like it placed and then hit save!

Now you can share your Instagram images with your readers as well! 

5.26.2014

We're On Etsy!!!

For the last two and a half years Tiffany Kuehl Designs has always focused on creating custom blog designs for our clients. While I love doing these, I have also found myself wanting to expand this little business of mine in so many ways. One of these ways was to offer a new service on Etsy
So while I did change my packages & prices last week, I also opened my own shop to start selling PREMADE BLOGGER DESIGNS at a lower cost than any of my packages! You can fins Tiffany Kuehl Designs on Etsy here!

As of right now there are only two premade designs for sale. 

But as time goes I will create more and add them to the shop as well. 

I had an idea that I thought would be fun, and this is where you come in... 

I know that the more premade templates I have, the better the shop will do! So i would love some help with deciding what kind of templates to create. My premade templates are all $40, which is cheaper them even my lowest custom made package. If anyone would be interested in having a design made, you would be able to help choose the details and it would only cost you the $40, but I would get to list it as a premade design, and you would get a free grab button for your help in the design process!!

So what do you think? Anyone interested???

3.03.2014

A Happy Little Life

I have, once again, been so awful about updating the blog portion of my site when I complete projects. I swear I will get better at this, but it takes a little time. lol.
A couple of weeks ago I finished a project for a client/friend that I am pretty darn proud of.
When we started she mentioned loving a simple black and white pallet with pops of bright colors. That is exactly what we did and I could not be more in love with how it turned out. And it totally suits her personality too. I LOVE when a blog actually suits the person behind it. It's like your getting a glimpse of them when you look at it. 

So make sure you go over to her blog and check her out. You will not regret it one bit! She is amazing!

3.02.2014

Marc Warren's Birthday Board

Not too long ago I did a birthday board for a friend of mine. She posted it on her instagram and I had a couple of other people show interest in getting another one made. Shortly after she posted it Kat showed interest in having one made for her son's birthday pictures and his party as well. I decided to try something a little different and just have fun with this one. You know what? I happen to LOVE how it came out! I can not wait to see how it looks when she prints it!
I have noticed after these two projects just how much I am loving working on printed items! Business cards, invitations, birthday boards, etc... It's all so fun to work on. I hope to have more projects like this in the future.